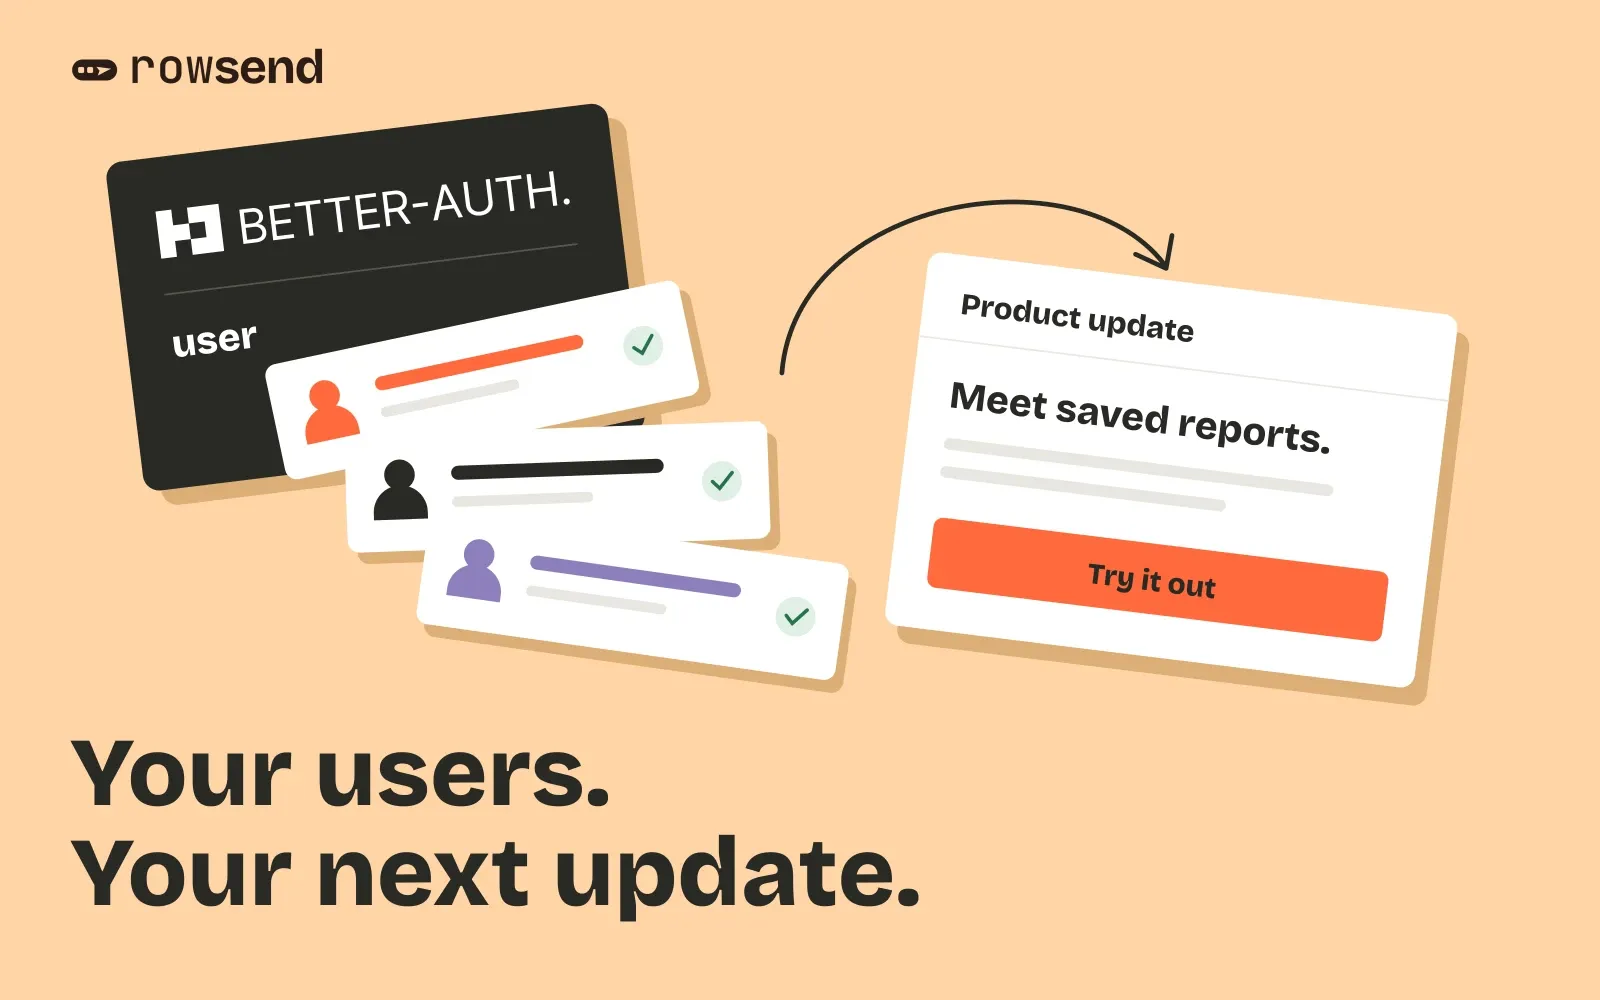
Your app uses Better Auth, your users already live in your database, and you’ve shipped something worth telling them about. You need a way to turn those users into a campaign audience.
If your Better Auth users live in Postgres or MySQL, Rowsend can read them through its existing database connection. You create a contact view, connect with a read-only login, and choose who should receive your announcement. No Better Auth plugin or signup webhook is needed for this workflow.
This guide covers that first connection and a product update campaign. Keep immediate password resets and verification messages in your application’s authentication workflow. The transactional and marketing email guide explains how to review those messages separately.
Check the table your app actually uses
Better Auth’s core user schema includes id, email, name, emailVerified, createdAt and updatedAt. Table and column names can be customized, so check your applied migrations before copying the examples below.
These examples assume a table named user with those camelCase columns. For Postgres, they also assume the table lives in public. They cover database-backed users on these two engines, not every Better Auth storage configuration.
Rowsend needs id, email and updated_at. The view aliases your source columns to that shape. Keep the user id stable so future syncs update the same contact.
| Source field | Contact view column | Use |
|---|---|---|
id |
id |
Stable contact identity |
email |
email |
Recipient address |
name |
name |
Contact name |
createdAt |
created_at |
Signup date |
updatedAt |
updated_at |
Incremental sync cursor |
emailVerified |
email_verified |
Custom verification field |
emailVerified is a boolean, not a verification timestamp. Keep it as the custom field email_verified. Do not map it to Rowsend’s date column email_confirmed_at or invent a verification date from the signup date.
Decide which users are eligible for this campaign before sending. A verified address alone does not establish whether someone wants your product updates. If your app stores marketing preferences, include those fields too and use them in the audience rules.
Connect the database behind Better Auth
Create or open the Rowsend project for your product. In Contacts, click Connect a database and choose your database host or engine. Better Auth is the auth library; the connection choice is the database that stores its users.
Follow the matching setup guide for Postgres or MySQL. For managed hosts, use the Supabase, Neon or PlanetScale instructions because their login requirements differ.
In the field picker, select your user table. Map its id, email, name, signup and last-changed columns using the table above. Include the verification column as an extra field. To use the aliases below, choose Write SQL and paste the select for your engine into Select statement.
Postgres select
select u.id, u.email, u.name, u."createdAt" as created_at, u."updatedAt" as updated_at, u."emailVerified" as email_verifiedfrom public."user" as uDouble quotes preserve the camelCase column names and quote the table name. If your migrations use users, snake_case columns or another schema, change the source identifiers to match. Keep the output aliases unchanged.
MySQL select
select u.id, u.email, u.name, u.`createdAt` as created_at, u.`updatedAt` as updated_at, u.`emailVerified` as email_verifiedfrom `user` as uUse the database containing the table in your connection string. MySQL uses backticks for these identifiers.
These are the selects for Rowsend’s view editor, not complete setup scripts. Copy SQL supplies the surrounding view and login statements. On Postgres the view is rowsend.contacts; on MySQL it is rowsend_contacts in the connected database. Run the complete generated setup SQL in your database, then click Test and connect.
The syncing guide explains the read-only login and credential storage. Rowsend reads the view rather than writing to your user table. Keep session tokens, password hashes and other auth secrets out of the select.
Check the first sync
Open a few synced contacts and compare them with known users in your database. Check a verified user and an unverified user, along with their names and signup dates. Postgres returns the verification value as a boolean; MySQL commonly represents it as 1 or 0. Rowsend’s custom-field is yes condition accepts both true and 1.
Rowsend reads changed rows using updated_at, so every change to a selected value must advance that timestamp. If you update user records outside your normal application path, check that those writes update it too.
For now, leave last sign-in unmapped. The default user schema above has no last-sign-in field, and a user’s updatedAt describes a profile update, not their last visit. If your app records activity separately, expose the actual activity field before building an activity-based audience.
If you later join a preferences or profile table, changes in either table need to advance the view’s updated_at. The visual picker supports a last-changed column for the joined table. Use Edit view in Project settings → Database to change an existing connection and resync.
Choose a small first audience
Suppose a fictional reporting app has launched saved reports. Start with customers who can use the feature and are eligible for product updates.
For this example, the app supplies two additional custom fields in the view:
product_updates_opt_in, the app’s recorded yes/no preference for these updates.is_internal, a yes/no flag for team and test accounts.
These fields are example application data. Better Auth’s core schema does not supply them. Keep them current and expose them through your view before using these rules.
Create a segment with All:
- email_verified is yes
- product_updates_opt_in is yes
Create an exclusion segment with is_internal is yes. Inspect matching contacts and check that any plan restriction for the feature is covered too. If only Pro customers can use it, expose your plan field and add plan is pro to the included segment.
In the campaign editor, use Change beside To to select the included and excluded segments. An empty include list starts with every contact, so select your saved audience explicitly. The audience guide covers missing values and how multiple segments combine.
Choose a topic such as Product updates. Rowsend also excludes contacts suppressed for that topic or everything, including bounces and complaints. Syncing your database does not undo those suppressions. Existing opt-outs held in another system still need to inform your source eligibility rules before the first campaign.
Draft and test the announcement
Here is a fictional saved-reports announcement you can adapt:
Subject: Save a report for next Monday
Preview: Keep a report’s filters and open it again next week.
You can now save the reports you run each week. Open a report, choose Save report, and give it a name. Next Monday, open it from Saved reports instead of rebuilding the filters.
Button: Save your first report
Replace the instructions and button destination with the real behavior in your product. Keep one main action, and link to a page the recipient can access.
Connect your sending provider, then use Send test to check the message in your inbox. Verify the sender, reply-to address, button destination and footer. A test’s unsubscribe link is a test page, so also check the companion mode you’ll use for the real campaign.
With Rowsend Cloud or a self-hosted companion, recipients get unsubscribe links and preference pages. With the companion on your computer, they reply to unsubscribe and you record their choice. Local sending also requires the computer to stay awake with Rowsend running.
Before confirming the send, review the topic and final recipient count in the send dialog. If the count differs from your segment, check exclusions and suppressions first. Follow the sending guide for scheduling and sending with the computer off.
Finish the first campaign with a connection you can check: a known user appears with the right fields, an ineligible user stays outside the audience, and a suppressed contact stays excluded after a sync.